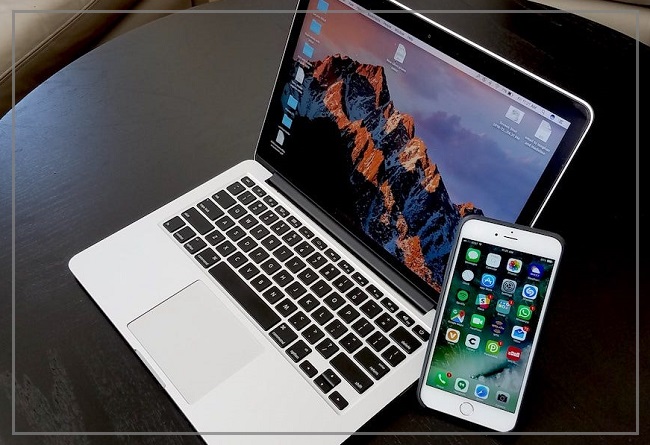
The internal memory of your iPhone is not unlimited, so you cannot store all the pictures in your smartphone. In this article, we will explain how to transfer photos from iPhone to Mac.
First, make sure you have the latest software installed. In order to transfer photos from iPhone to Mac, you would need iTunes 12.5.1 and higher. A USB cable is also required to be connected between the smartphone and the computer.

How to Import photos from iphone to Mac
1. Connect iPhone to Mac via USB (or USB-C for the latest MacBook models);
2. Check your phone. You may need to unlock it with a password (Face ID and Touch ID cannot be applied in this case). If a special window appears, indicate that you trust this computer. Your iPhone will now connect to the Mac;
3. The Photos application should open on your computer. If this does not happen, start it manually;
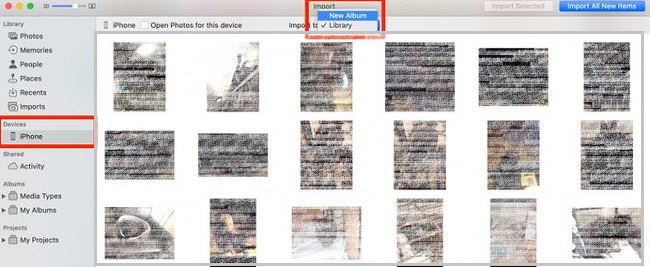
4. If the screen displaying all the photos on your iPhone does not open automatically, look for “Devices” in the left sidebar and select iPhone. Now the “Import” screen will open, where all the pictures that are stored on your smartphone will be shown;
5. Choose where you want to store the imported photos. In particular, you can add them to an existing album or create a new one;

6. In the upper left corner of the window you will see two buttons. If you select “Import all new photos,” then all images taken since the last import are downloaded to the Mac. To transfer individual photos, select each image you want to import and click the “Import Selected” button.
Everything, the process is completed! Now you can disconnect your iPhone from the Mac. We hope our advice will benefit you.


